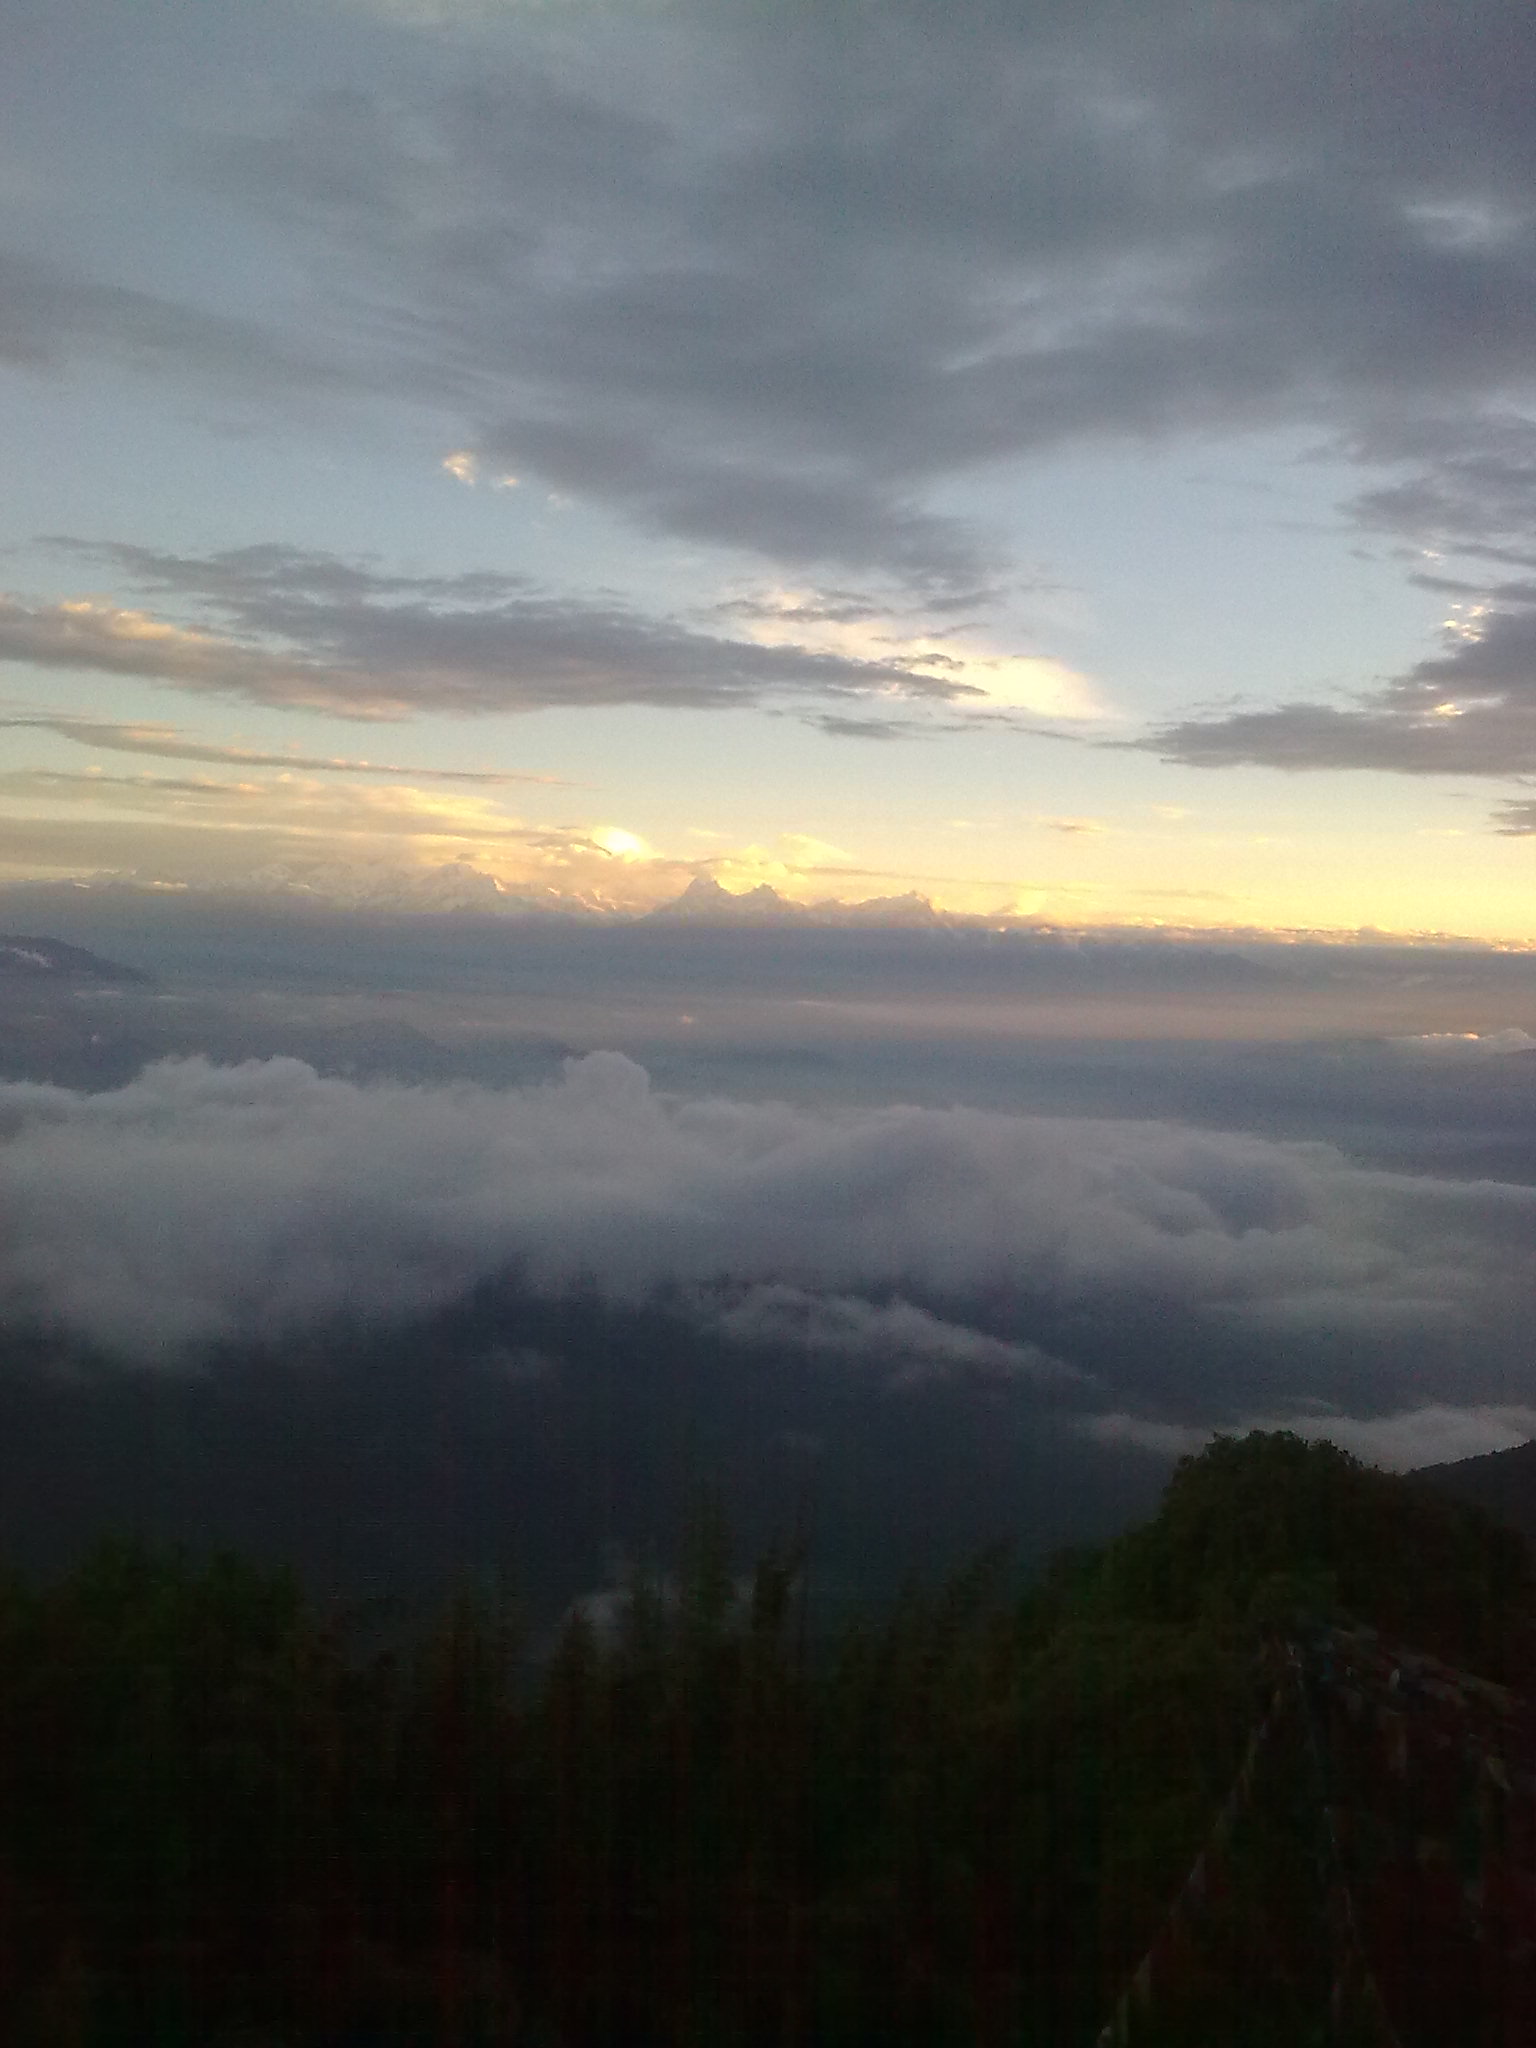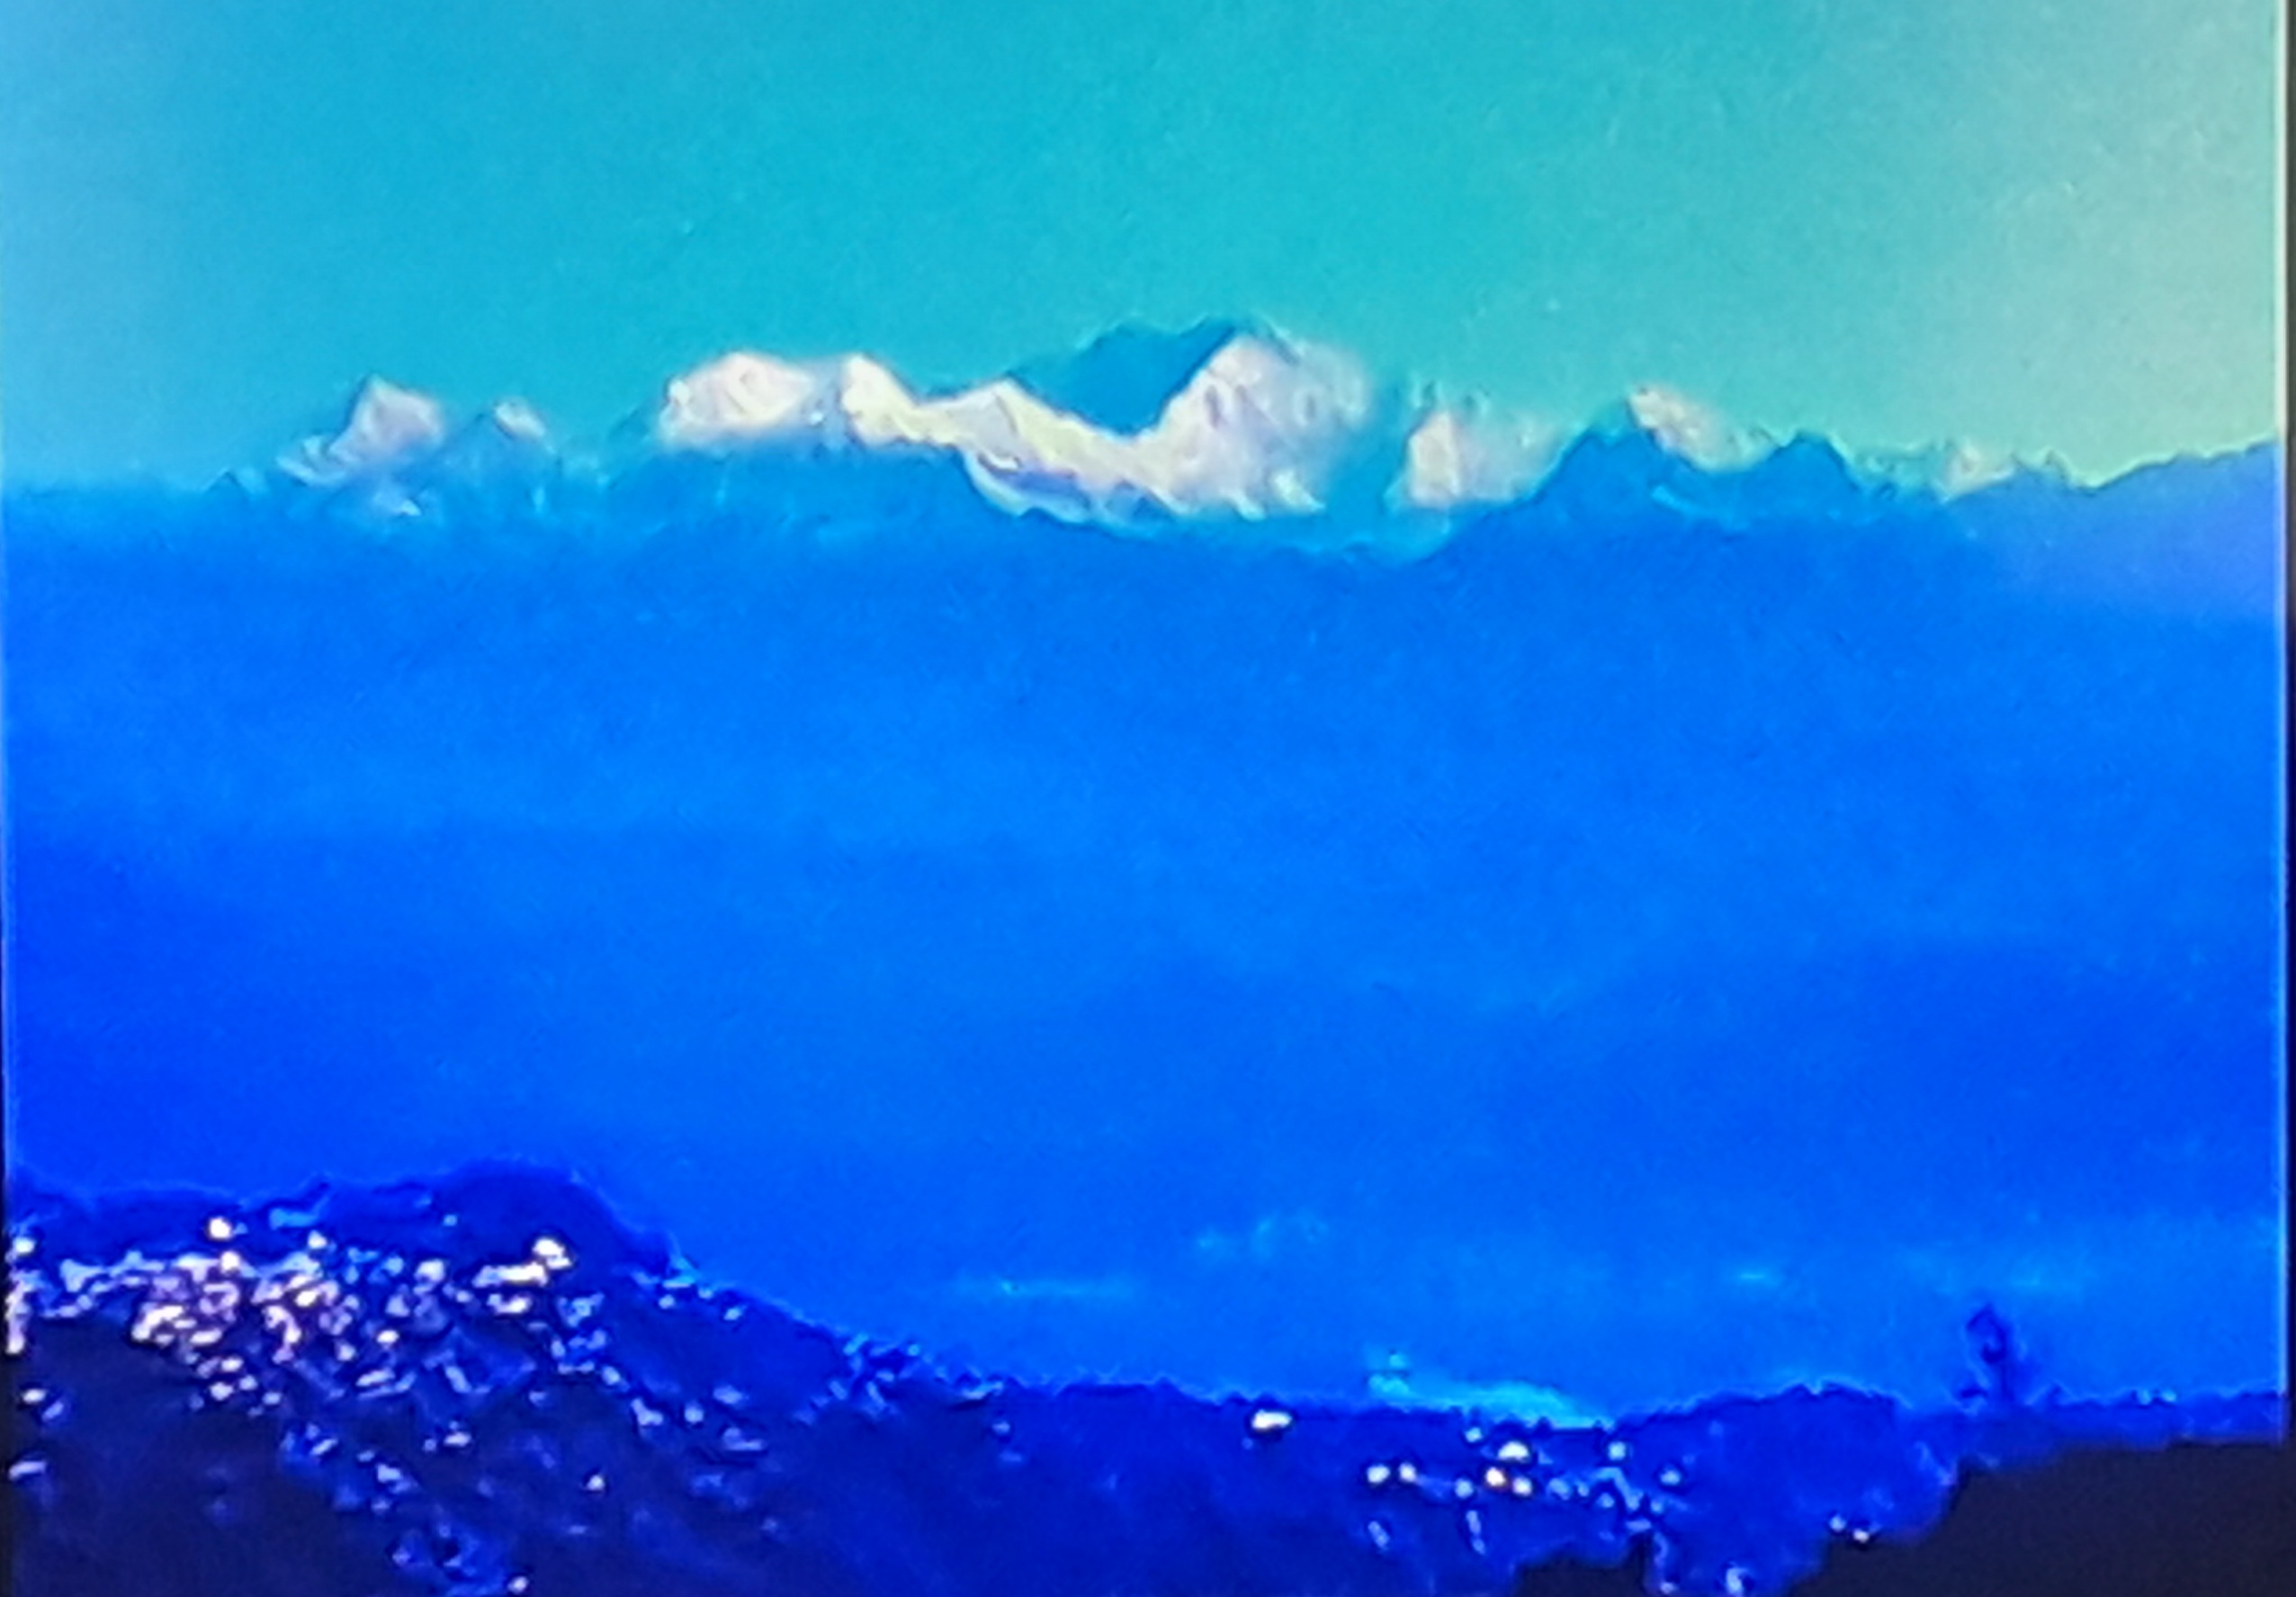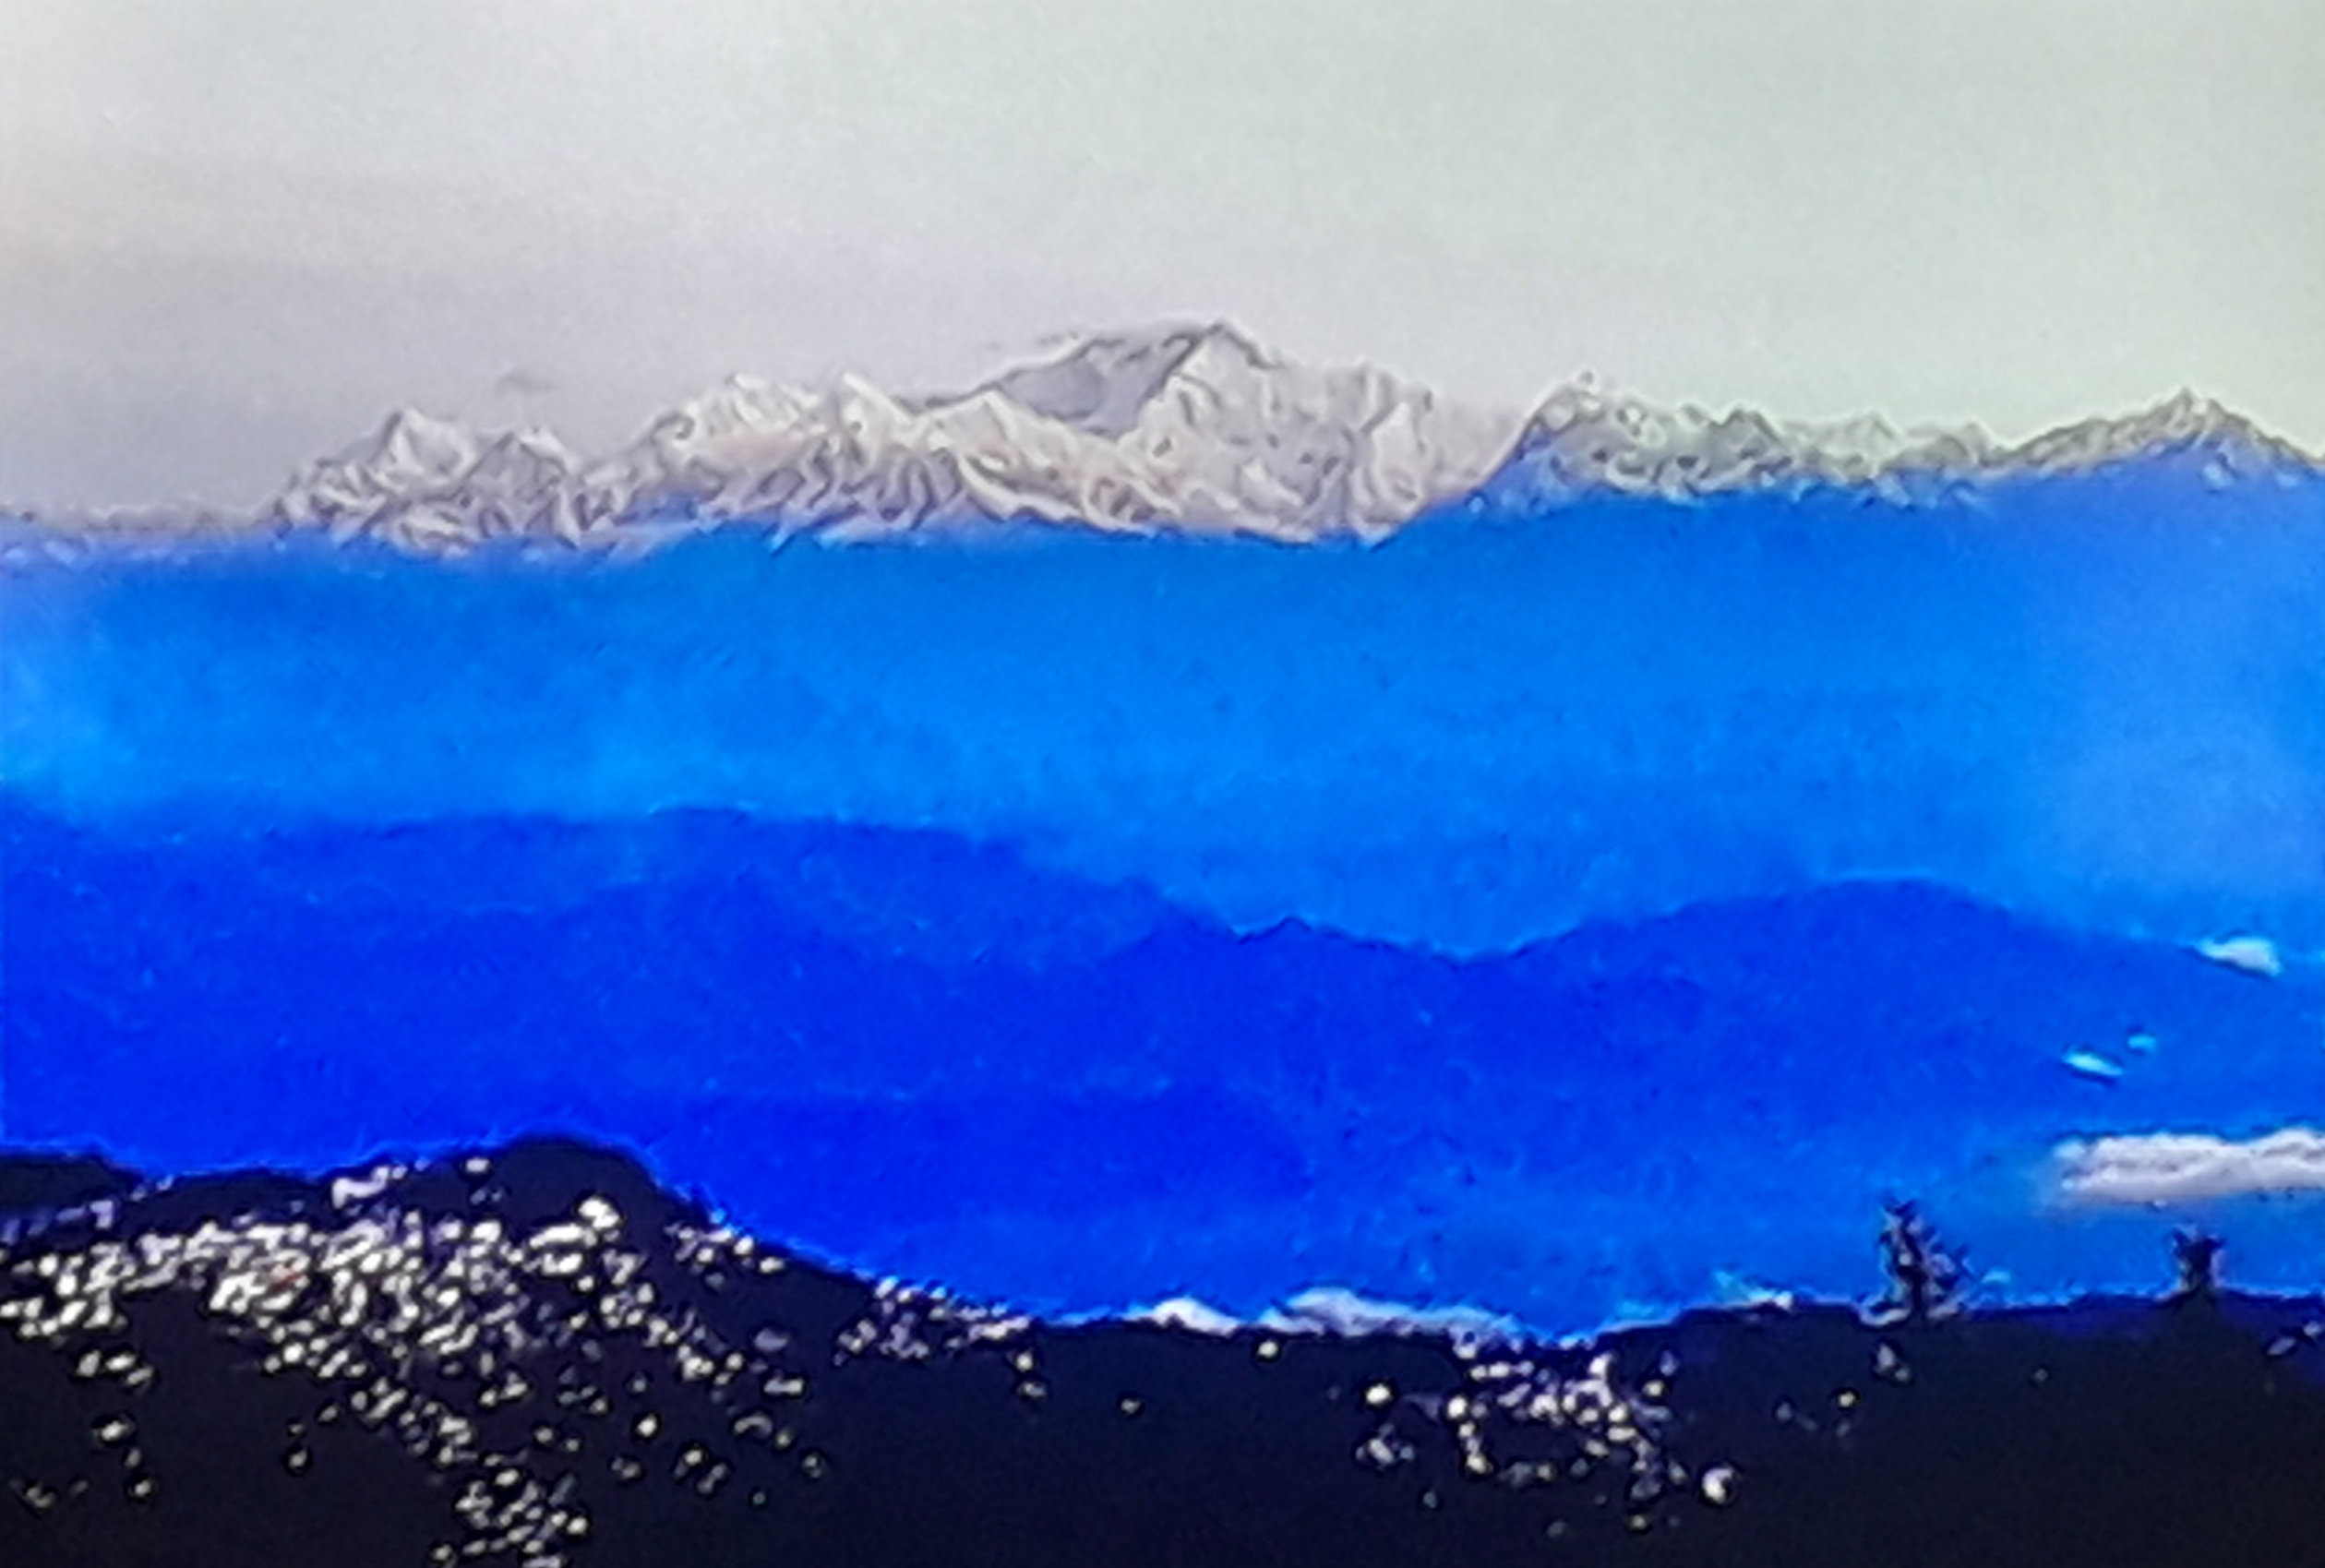
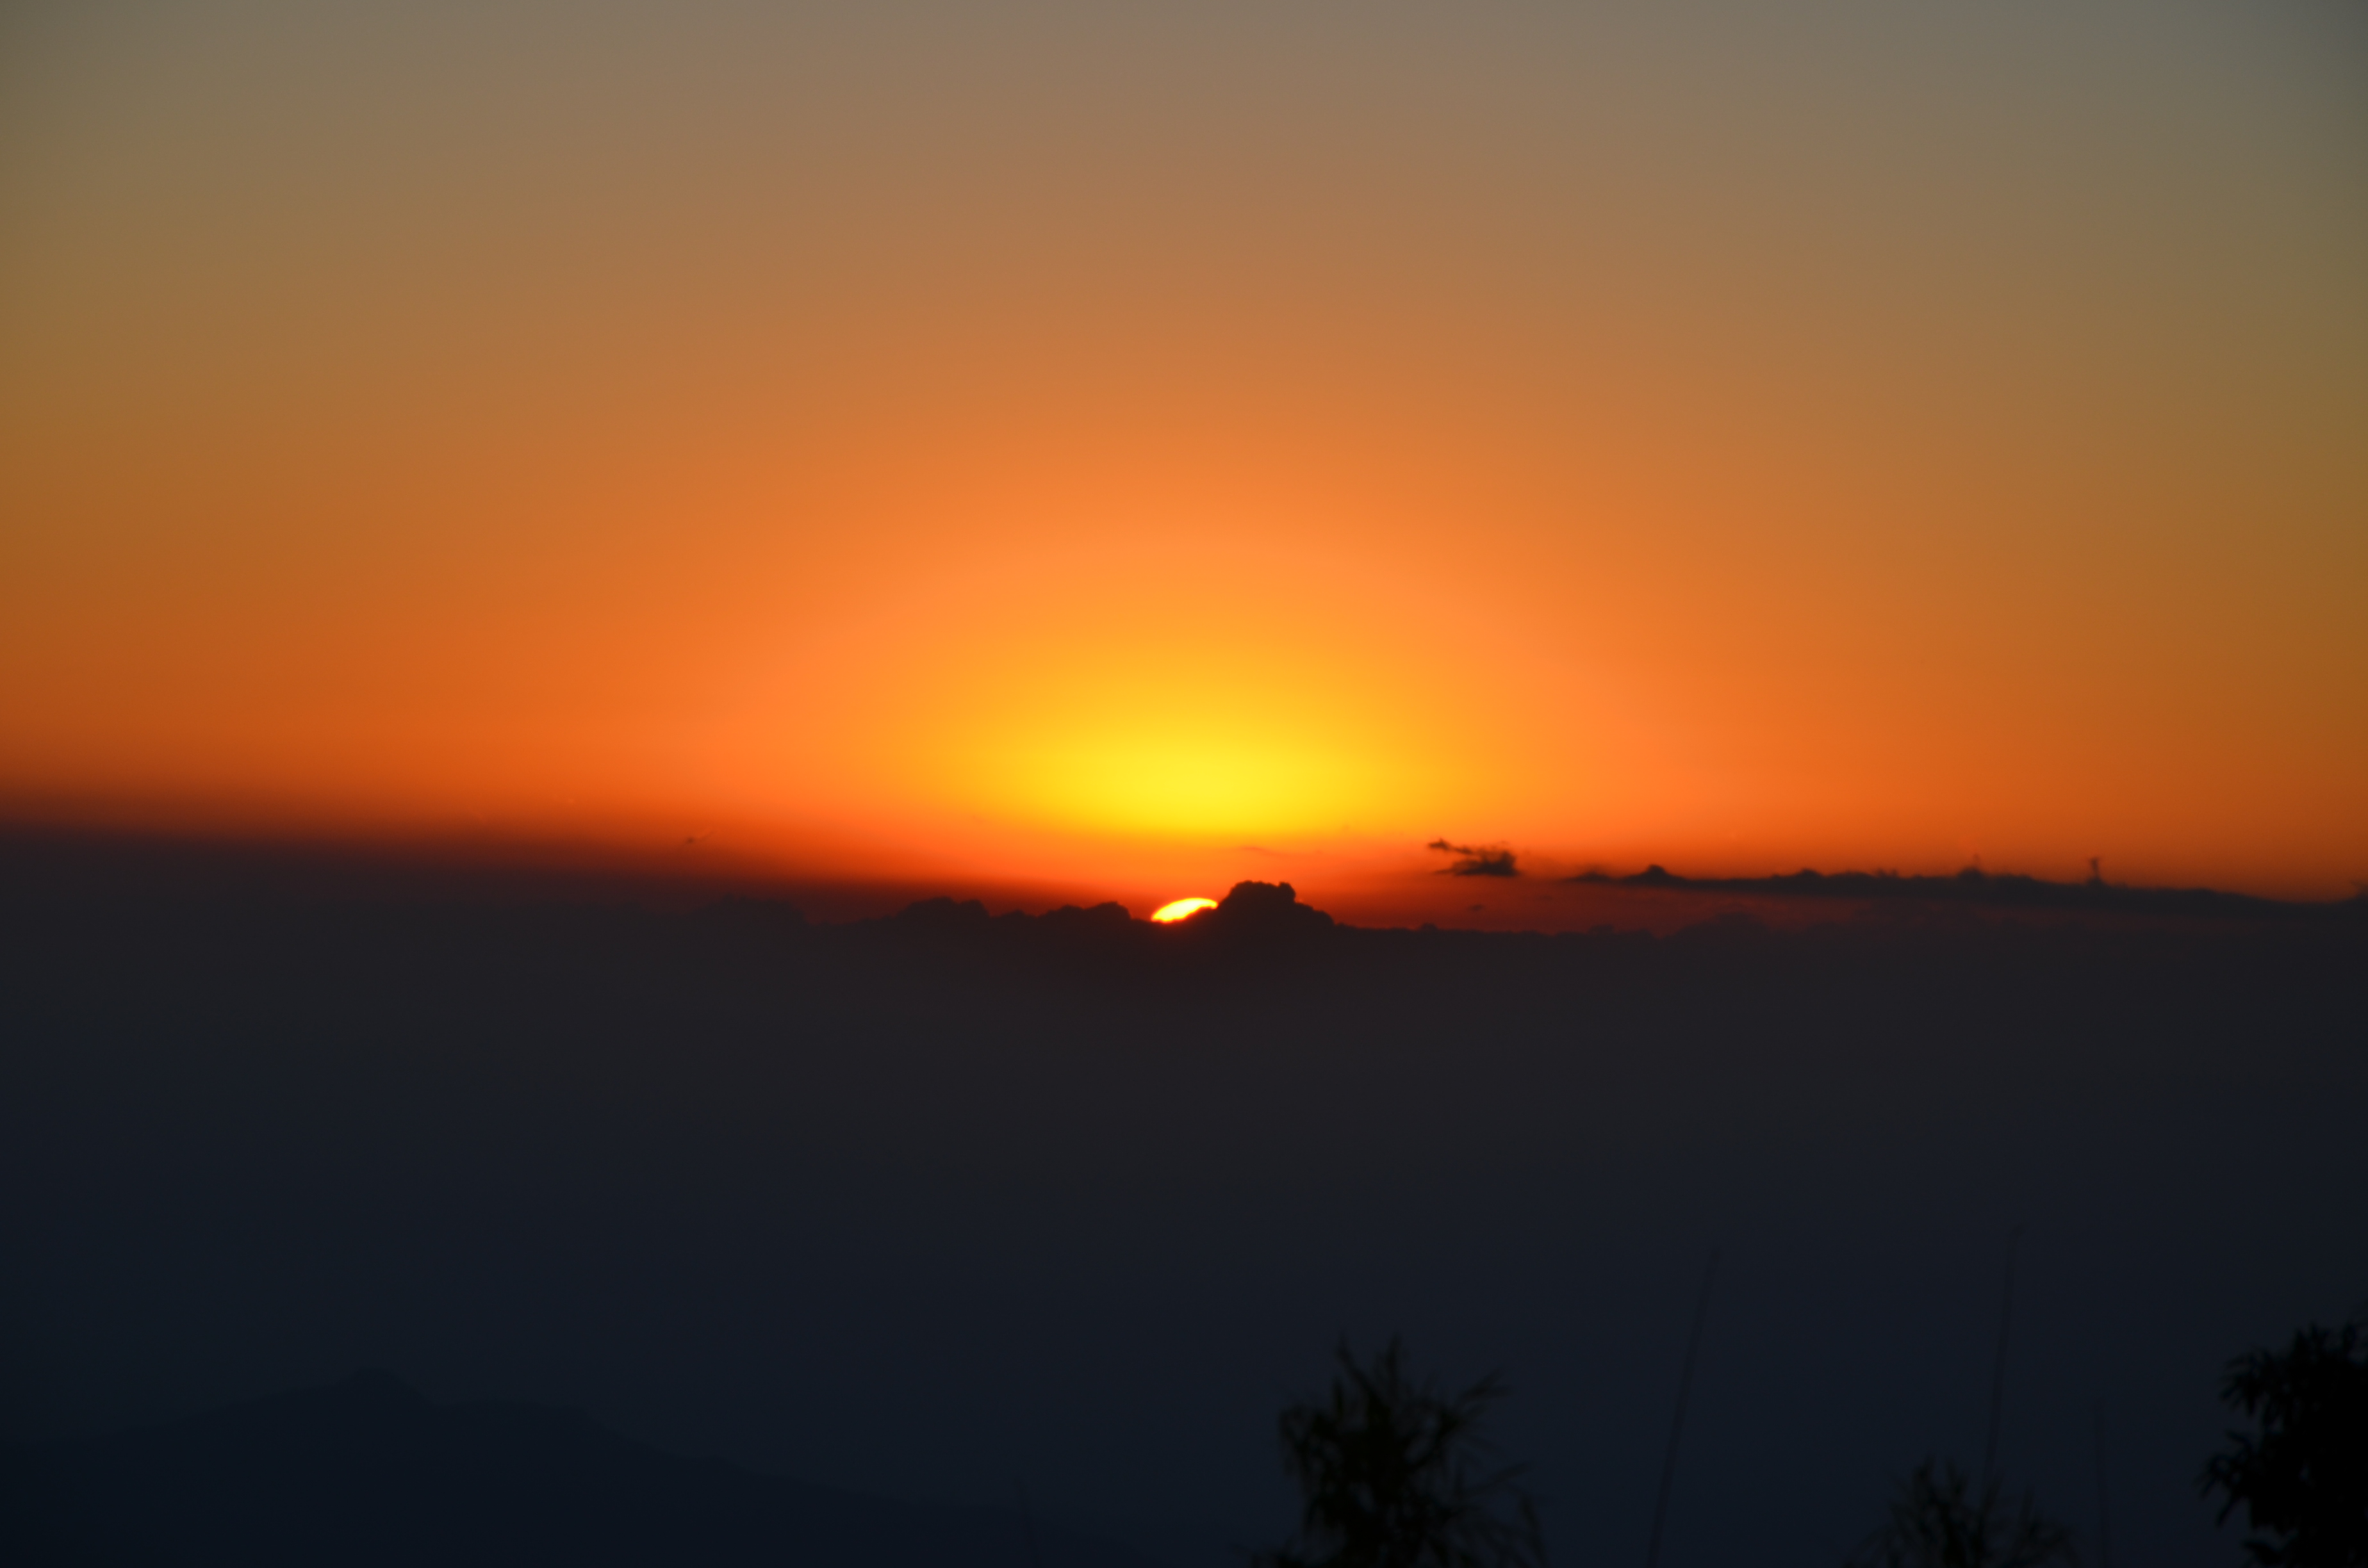
Tiger Hill at sunrise is one of the most photographed subjects in Darjeeling, and also one of the harder ones to shoot well. You work in low light, in the cold, often from a crowded spot, with a mountain that changes colour by the minute. This page is a practical field guide to coming away with a usable image.
Timing first, gear second
The single biggest factor is not your camera — it is being there at the right moment. The best light on Kanchenjunga comes in the minutes before and just after sunrise, when the peaks catch colour while the valleys stay dark. Arrive after the sun is fully up and the magic has usually passed.
That means doing your planning the day before: confirm the sunrise time for your date, agree your departure, and get in position early rather than arriving with the crowd. The sunrise time guide and the early morning departure guide cover the logistics.
Keep the kit light and warm
You will be standing still in the cold, sometimes in the dark, so favour a light, manageable setup:
- Camera and one versatile lens if you are carrying it by hand.
- Spare battery — cold weather drains power faster than you expect.
- Lens cloth — condensation and mist are common.
- Gloves you can shoot in, and warm layers over everything.
The what to bring guide has a fuller packing list.
Lenses and framing
- Wide for the full panorama: the sweep of the range, the valleys and the sky.
- Telephoto to isolate individual peaks and to find the small, distant Everest on the horizon.
- Standard zoom as a compromise if you carry only one lens.
Remember the geography: Kanchenjunga is to the north, the sun rises in the east. You may want two completely different compositions from the same spot. The Kanchenjunga sunrise guide and the Everest view guide explain each subject.
Exposure in low light
Sunrise is a high-contrast situation. The sky can be far brighter than the foreground, and it is easy to end up with a blown sky or a black foreground. Two practical approaches:
- Meter for the bright sky and lift the shadows when you edit, keeping highlight detail.
- Bracket your exposures and blend later if you prefer to keep both sky and land.
Shoot some frames around the sunrise window rather than a single one — the light changes quickly and you cannot get the moment back.
Working around the crowd
On busy mornings the best positions fill early and people step into frames. Practical responses:
- Arrive early and choose your spot deliberately.
- A slightly raised position helps you shoot over heads.
- Be patient and courteous; everyone is there for the same view.
- Shoot some frames early and late, when the crowd shifts.
Phone versus camera
You do not need a large camera to get a good image from Tiger Hill, and many visitors shoot on a phone. A few adjustments make a big difference:
- Avoid digital zoom where you can; it magnifies noise rather than detail. Use an optical zoom if your phone has one.
- Tap to meter on the bright sky or the peaks so the camera exposes for the light, not the dark foreground.
- Steady the phone. In low light, rest it on something solid or grip it firmly to avoid blur.
- Shoot several frames across the sunrise window, as light and colour change fast.
A dedicated camera gives you more control, especially for distant peaks, but a phone handled well can produce a very usable sunrise record.
Editing on the day
Sunrise files often need a light touch afterwards: pulling up shadows, holding back highlights, and adding a little contrast to counter haze. Do not overdo it — the appeal of the scene is the light itself, and heavy edits can make snow peaks look grey or the sky look artificial. Save your originals so you can revisit them.
Rules, safety and courtesy
Tripod policies and any access rules can change, and we have not verified a current policy for the viewpoint. Ask on the day and be ready to improvise. In the dark, mind the unlit edges, watch your footing on cold, slippery ground, and keep your gear close. A good photograph is not worth a fall.